Black Friday in 20 days: will your customers be able to pay? 25% off the first year and free setup, until 30 NovemberSee the offer →
 Path
Getting started
Get started with Pathly in 10 minutes
Five steps, no demo and no meeting. By the end, your site is monitored, alerts reach the right place and this month’s report is ready.
Screenshots come from a demo account with fictional sites, in the French interface. Pathly itself runs in your language: change it under Settings, Appearance.
Step 1
Your first Ping
A Ping checks that your site responds. It is the first check to set up.
- Create your account. The Solo plan is free and needs no card.
- The setup asks for your site’s address. Pathly creates the Ping and runs the first check.
- For another site, click “New”, then Ping. Paste the address: Pathly fills in the name from it.
- A Ping can also watch a TCP port or a DNS record.

Step 2
Your first Flow
A Flow replays a journey in a real browser: login, cart, form. The server can still respond while the cart is broken. The Flow catches it.
- Click “New”, then Flow.
- Enter the start page. Then choose who prepares the Flow.
With Lumi, the assistant
Click “Let Lumi prepare the Flow”. Lumi recognises WooCommerce, Shopify, PrestaShop, Magento, WordPress, Joomla and Drupal. On other sites, an AI hosted in the EU reads the page structure and text, never the screenshots. Every suggested Flow is replayed before it is shown to you. Lumi never pays for anything and never submits a form. You approve every step.
With the recorder
Click “Record it myself”. Pathly opens your site in a real browser. Click like a visitor: each click becomes a step. Add a check, for example a text that must appear. Then save. Use a computer: a phone screen is too small.

Step 3
Alerts and their channels
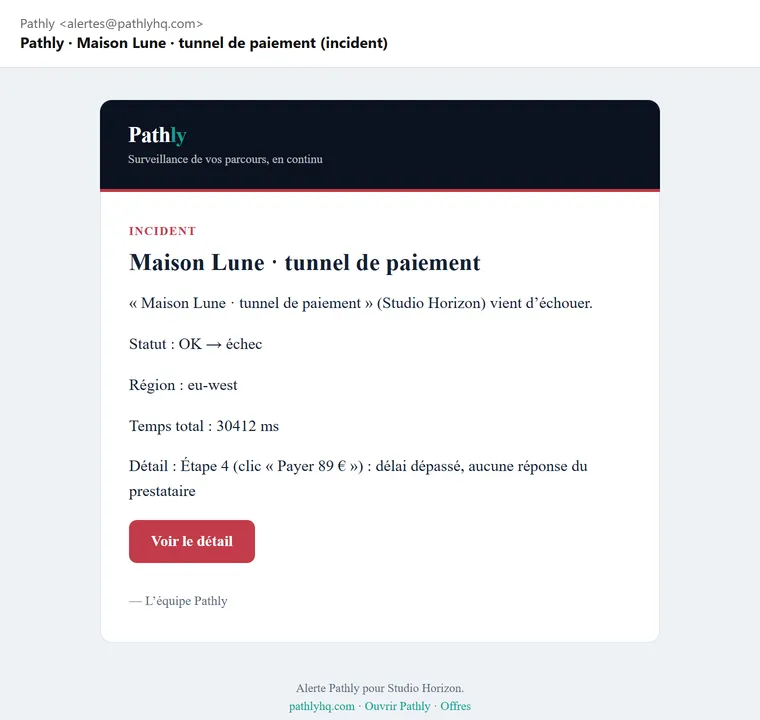
When a check fails, Pathly tells you why in plain words. A Flow alert names the step that broke and shows its screenshot.
- Email is included in every plan. On Solo, the number of alerts per month is capped.
- Slack, Teams, Discord, PagerDuty, Opsgenie and webhooks are included in every paid plan.
- Open Settings, then Alerts. Paste the webhook address or the integration key.
- The setup offers a test alert. You see right away where the message lands.
Step 4
The monthly PDF report
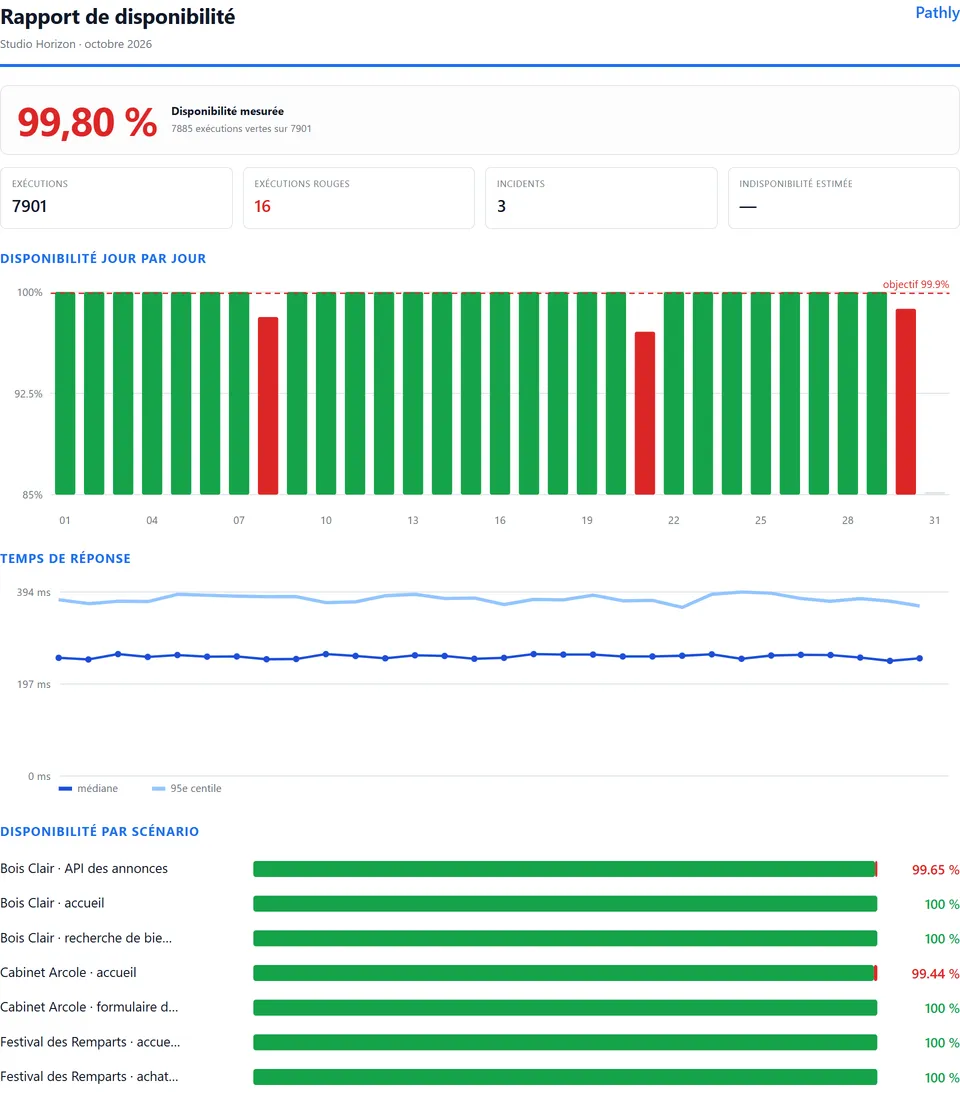
One PDF report per month, ready to hand over to your client. It is built from the checks already in place, with nothing to type.
- Open “Service quality”, then the “Client report” tab.
- Pick the month and the journeys, then download the PDF.
- It shows availability for the month and day by day, response times and incidents.
- It is included in every plan, with the Pathly brand. On Business, it carries your agency’s brand.
Step 5
Agencies: one Space per client
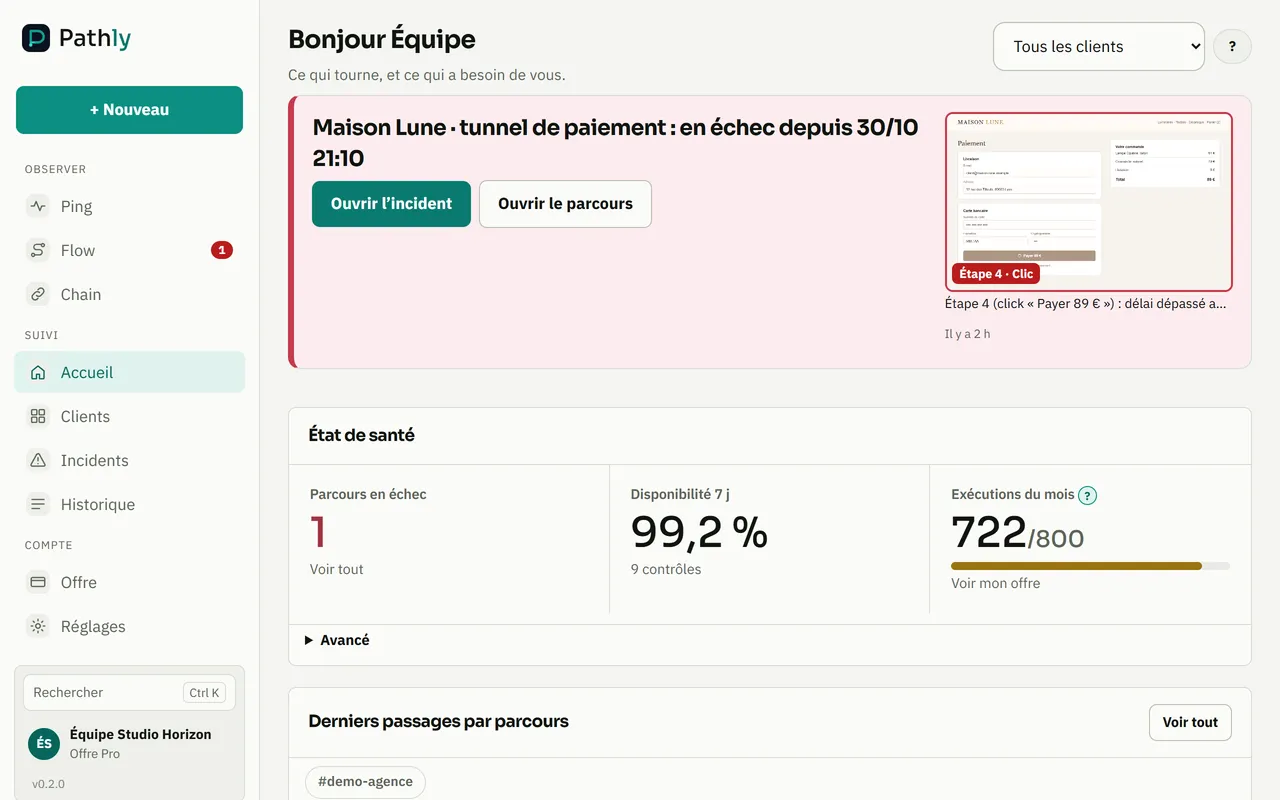
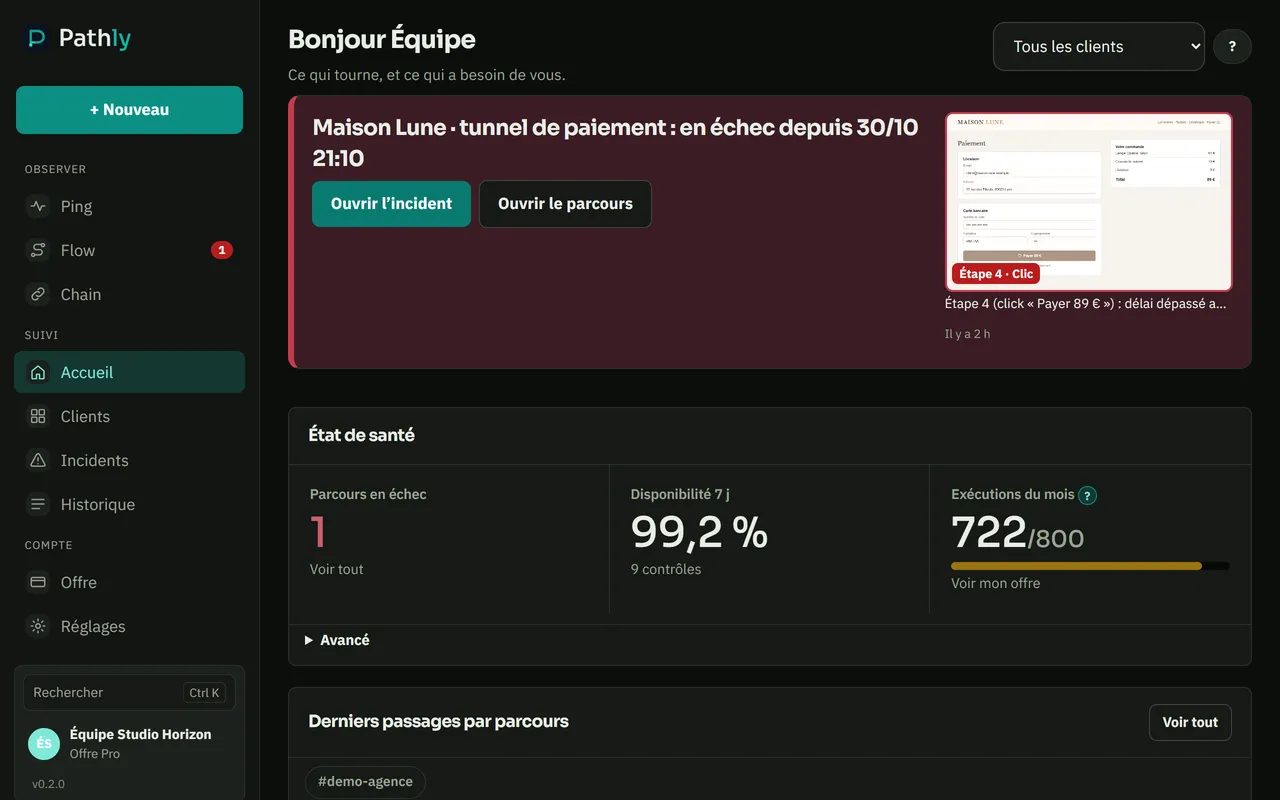
A Space groups the sites of one client. You see at a glance which client has a problem.
- Signed up as an agency? The Clients page is available as soon as you sign up.
- Create one Space per client. Put its Pings, Flows and Chains in it.
- Then filter the home page, the list of checks and the PDF report by client.
- The number of Spaces depends on the plan.


What next?
The Solo plan is free, with no card and no time limit. The number of checks and how often they run depend on the plan.